联想智能音箱拆解怎么样?有些朋友会好奇联想智能音箱拆机后内部结构是个什么样子呢?今天小编就来告诉你联想智能音箱拆开后的内部结构及其精细做工。
特别注明:由于文章篇幅过长,影响阅读效果,智能粉已将其分为上中下三个部分讲述,对应链接附在文后供读者查阅。
联想智能音箱拆解全过程上
工具:十字螺丝刀一把……
耗材:泡棉胶带、密封胶、六角塑料弹簧铆钉。前两个很常见,最后一个去卖电脑配件的地方也很容易找到。

一体成型的外壳不好下手啊,肯定有一部分是用胶水固定的,试了试顶部拆不下来,不能硬来,换个方向。

果然,底部的软胶轻轻一揭就下来了,两面胶粘合的。

拆掉胶垫,露出螺丝了。还有什么可犹豫的,拧螺丝。

拿掉底座是充电接口和复位按钮,通过排线连接。

拧下固定充电接口小板的螺丝,断开排线。


充电板的特写。

再拧掉4颗螺丝。
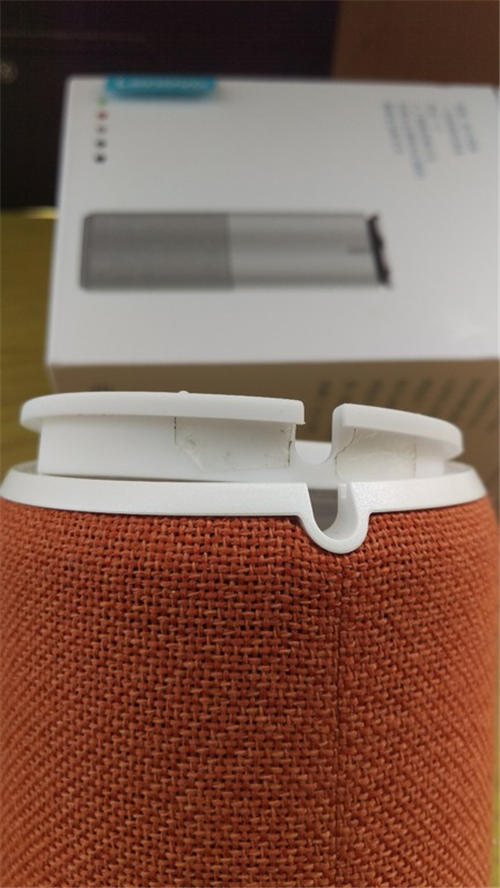
双手抓住上下两部分慢慢用力,可以稍微转动一下,取下音箱的下半部分。

用了很多泡棉胶带,摩擦力比较大,慢一点来。

布是直接粘在ABS塑料上的。边缘有些多余的胶水。

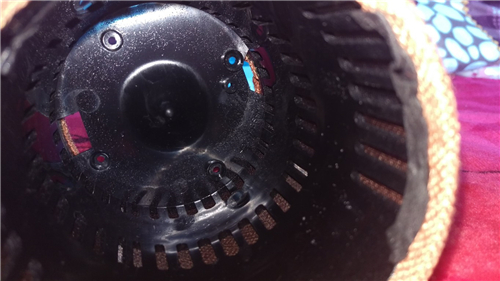
内部反射声波的锥形造型。

小扬声器组件。

拧掉螺丝,但是扬声器的排线暂时不好下手断开。注意扬声器四个角对应的缺口,从缺口向下还有4颗螺丝,缺口就是给螺丝刀留位置的。

拆完螺丝居然还没有分开?!微微用力掰了一下才分开,原来还有密封胶。这种胶干透之后基本没有粘性,轻轻一揭就下来了。

小编总结
感觉拆机还是比较容易的,外壳及构造啥的也写不出什么有营养的东西,总之,智能粉就先写到这里了,随后奉上联想智能音箱拆解全过程中和联想智能音箱拆解全过程下。
[联想智能音箱拆解全过程下]
[谷歌助手支持通过物理按钮呼出吗]
[联想智能音箱实测好用吗]
[联想智能音箱开箱怎么样]
[联想智能音箱app怎么下载和配置]
[联想智能音箱参数配置好吗]
[叮咚、联想和小雅智能音箱AI体验对比]
以上就是小编为大家带来联想智能音箱拆解全过程上全部内容,更多智能资讯,请关注!